Tuesday, May 12, 2020

Supernova #2

Last night was as clear a night as we have had in a while, so out to the observatory I went. My intent was to try imaging at a finer resolution (Bin x2, if you know what that means vs Bin x3). The target was M5, and I thought I would try longer integration times as well; 2 minutes vs 1 minute. I found a calculator on line that suggests exposure times (length) and by entering my “numbers” , it suggests times of 1 to 2 minutes would be the best for me. Just by experimentation, I had found that 1 minute seemed to work well, but, I thought, why not try 2. Actually, the seeing wasn't too bad, and it seems the 2 minutes worked OK. So, while I was imaging M5, I was also watching a youtube channel called Sixty Symbols, and they had just published a video about a new supernova in the galaxy M61. So... I checked the charts and, yes, it was up, and YES, it was within my ability to image it. SO....... over to M61 it was! Three 2 minutes subs later, and there it was. Actually, I imaged it in color, just to see how it would do, but the luminence channel compares best to the image I took of M61 in June of 2018. Presented here is both images; the image from 2018 on top and the one from last night below it, with the supernova shown. 

M61 from 6/2018 and 5/2020 below. (Doesn't "Super-nova" look like "Supe-Mover??)

Wednesday, May 6, 2020

Catching Up Part One

Over the past several days and nights, I have been taking pictures of the sun or moon. Mostly the sun, since the moon is relatively high and bright, and seeing has been terrible, especially at night, so not encouraging. After the, limited, success of catching the flare, I've tried to keep imaging the sun for long periods of time, at least an hour or so, to see if I can record any changes. It's interesting to see that even over the course of an hour, I can often see changes, although some of the changes are really very, very small. Perhaps at some point in the future I will get a better camera to record more detail, but for now, I use what I have and do the best I can. When I record the sun for, say, 90 minutes, I end up with at least 90 .avi files of at least 100 frame each, or about 9000 images to process. That takes a while to do. So, with that in mind, here is an image from May 1st, 2020. The prominences didn't move much, so I'll show half the sun, which has 2 prominences, and then the lower one closer up. The upper one reminds me of a Christmas tree.

2 Prominences

Lower one, much enlarged

Wednesday, April 29, 2020

Two Solar Images … Plus Blogger Foolishness

First image. Taken on April 16, 2020. Actually, this isn't a single image, as you can plainly see, but a sequence on images taken over about 1 hour. In the past, when I've talked to people about “prominences” on the sun, I've explained that a major difference between a prominence and a flare is how long they were visible. In other words, you can't tell the difference just by looking, visually, at the “flame” on the side of the sun for just a minute or so. As it turns out, most of what I see is a prominence. This time, I just plain got lucky and got a flare. Set up time was short, because I wanted to start the imaging as soon as possible, then set the imaging to run until the flare essentially stopped. The best way to watch this is to put it on “repeat” and watch the “flame” portion to see the plasma leave the sun, then look closer to the sun to see how the surface settles back down. The "repeat" is just pressing the circular arrow in the lower left corner. I also suggest making it full screen (lower right corner).The settling down reminds me of an ocean wave.


Then, on April 28, 2020 I read on Spaceweather.com that there were a couple of actual sunspots! One was from the past cycle (24) and one from the upcoming cycle (25). So, I thought to myself, “self, why no see if you and get a picture of them.” And that's what I did. They are small, and what shows up the best is the hotter area, which shows up white. The darker, “cool” area, which is black, is very small and hard to see. The images were taken in black and white, like the ones above, and the yellow color added in post processing. If nothing else, the color helps to increase the contrast between the sunspots and the surface of the sun.


Sunspots!


Finally, what's going on with Blogger? About half of the images uploaded for blog entries this month had just disappeared! I reloaded them at the same time as this entry, so, perhaps, they will remain. If not, well, that may well signal the end of the blog. Maybe that's not a bad thing.

Friday, April 24, 2020

M63 and M101

Just 5 days after taking the last comet image, I had a rare clear night that I spent imaging all night. Notice that I didn't say I stayed awake all night, just that I imaged all night. I've tried this once before, with some success, so I thought I would try it again. This time the targets were M63, aka the sunflower galaxy, and M101, aka the pinwheel galaxy. I took about 4 hours of data for each of them. What this translates into is that I imaged 1 hour through each of the 4 filters. I have found that I can image about 1 minute before bad things start to happen (like sky glow starting to take over the exposure or satellites moving through the image). So what I'm left to process is about 240 images per galaxy. What you see below, then, is about 480 minutes of exposure time and 480 images that I processed. On these 2 images, I used a new-to-me process of calibrating, aligning, and stacking in Nebulosity (which is normal), then combining the red, green, and blue channels to make a singe RGB image (new and new from here on). The Lum channel was processed in the same way and left as just the Lum channel. Then each channel was imported into GIMP 2.10.18 and stretched to get as good of an image as possible, showing as much detail as possible. Then the Lum image was copied as a new layer onto the RGB image. By changing to layer Mode to Luminance and varying the opacity, the images below were produced. This was by far much better than I got using Nebulosity alone. I hope you enjoy.

M63 at full resolution

M101 at full resolution

Cometary Fun

At this point in time, it's been several days since this image was taken. It's just taken me that long to get around to processing it and writing it up.

Comet C/2019 Y4 April 11


Above is the comet C/2019 Y4 ATLAS taken the evening of April 11, 2020. This is just before the comet started to break up significantly. I believe that at this point, there were still about 3 “chunks” of it in close proximity. However, the brightness had lessened significantly. Compare this image to one taken on March 25, 2020 (published on March 26th , I think). The exposure is the same length of time: 1 minute. There was not really enough light to make a good color image, so just the black and white that you see here.

I'm including a star map showing how far the comet had moved in the 17 day interval (thanks, Stellarium). As you can see, it appears to be moving quite fast, but that expected.

Movement of Comet as it appears in my sky

Tuesday, April 7, 2020

Fun Without a Telescope

On the night of April 5, 2020, I decided to go out with just the DSLR camera to see if I could photograph Venus and the Pleiades again. Venus had moved further up in the sky and away from the Pleiades somewhat, but still within easy reach of my old Canon Xsi camera. So, I thought, why not?

Venus and Pleiades


I seemed to have gotten the focus a little better on this one, which pleases me. Still difficult to do, but I seemed to have gotten it pretty well. I found that using live view gets pretty close, but taking the image, and then zooming in as far as possible was the best way to get a good focus. It just takes longer to do. It's interesting that a 5 second image still shows some star trailing. I need to recompute the exposure time (I have the formula somewhere) to see what the exposure time should be to eliminate the star trails.
After a few shots in that part of the sky, I moved over to Orion and got a shot of the sword. It's OK, but nothing great. Then, since the moon was nearly full, I went over to it. Just by looking at it, I could see a yellow cast to it, so I assumed the high cloudiness was still around. I decided to see if I could show that, so I took a series of shots, some at a short exposure to see how well I could get the surface of the moon, and some at somewhat longer exposure times, to see if I could show (or detect, as it were) the high clouds. I think I did both, plus I got something extra, and I don't know what it is. First, the surface on the moon.

Moon, but I think you know that


The exposure here was quite short (for me, at least), only about 1/800 of a second. I've stretched this to make it lighter and show up better, but other than that, it's pretty much as it came off the camera.


"Smeared" light around moon. Not really a halo. Plus??


This one shows, by overexposure of the image, the high cloudiness. At least I think it does. Any overexposure will make the image too light, but this has the “smeared” look that I think indicates the cloudiness. In essence, the smearing comes from the clouds being lite up by the moonlight and glowing, as it were. Hopefully, you noticed the streak on the left side on the photograph. Closer up, it looks like this:


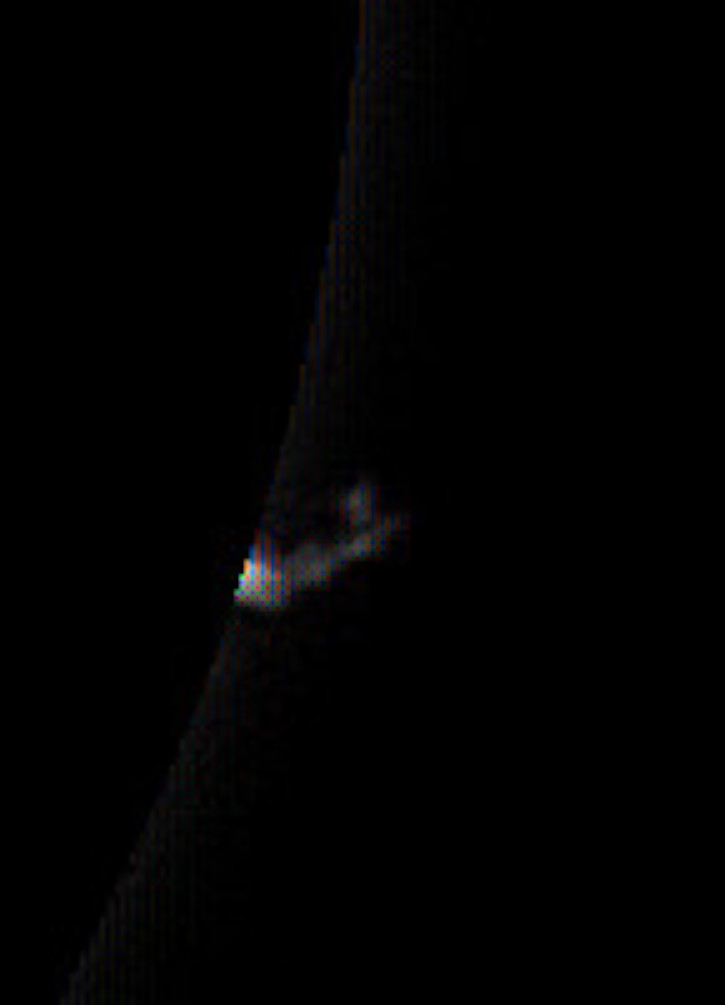
The "whatsit". Remember, this is a 1 second exposure, and it's moving.


Exactly what this is I'm not sure. The light configuration is not that of an airplane; airplanes have a red light on the left wingtip, green on the right wingtip and white in the back (tail section). That's not what I see here. By using the Heavens-Above and CalSky websites, there are a number of “satellites” it possibly could be. My first thought was an Iridium flare, but I don't think so. The next highest probabilities are rocket booster stages left in orbit, but that wouldn't explain the red light in the “center” of the to long “bars” of light. (The bars of light were lights that were on for a longer time in the exposure. The red light was on for a short time only, like a blink.) And is that a contrail or just where the object was light enough to leave that light trail (which is my guess)? And is the trail a true light that's on or reflection from the body of the spacecraft? Or is it an airplane with a different light configuration, military perhaps? I don't know. Have you got any ideas? Leave a comment.

Sunday, April 5, 2020

Catching up.....M13

Always a favorite object, the great Hercules cluster, M13. This is probably the longest exposure I've made, about 40 minutes each channel. I was taken the morning of April 3, 2020, just before closing the observatory. That night, I let the scope run all night, with somewhat variable results. Unfortunately, this one looks to me to have a green color cast, which is indicative of light pollution. Not surprised by that. But, other than that, it seems to be one of the better images of it I have to date. I would usually take this image much later in the year; taking it in the early morning is the reason I got it now.

M13


Extra

Also on the night of April 2-3, 2020 I imaged the galaxy pair M65 and M66. I questioned whether I would be able imaged it through the high cloudiness, and it did present a problem. As with clouds, 3 of the channels did not have as much problem and 1 did; the blue channel. While all this happened as I was sleeping, more or less, there is some evidence I can show below that leads me to that conclusion.

Same image in different channels, process identicaly.


The image above is a composite of part of the green channel and the same part of the blue channel. As you can see, the sky background is much lighter in the blue channel than the green. I think that's a cloud passing over. Looking more closely, the edges of the galaxy are softened, which also occurs when viewing through a cloud. When I use one of my 2 normal processing routines, the overall “blueness” becomes vividly apparent.


Image process "normally"
After giving it some thought, I decided to try Nebulosity's “match histogram” function on the ready to “LRGB combine” frames. (Usually, I calibrate the images, stack each channel, align all channel, and end up with 4 images to use for the LRGB Synthesis function. So, in this case, 40 separate images become 4 images, then synthesized to one color image.) My goal was to decrease the blue in a more uniform way than I otherwise could. This is the result.

Histogram corrected color channels. This one is a little closer to correct, maybe.


All in all, I think it turned a lemon into lemonade. I think I worked fairly well.